AperioFlow is where solo developers and small teams plan work, catch errors and watch uptime. This chapter takes you from a new account to a working plan in a few minutes. Every later chapter goes deeper into one part of the app.
Watch the video: A tour of AperioFlow
Create your account
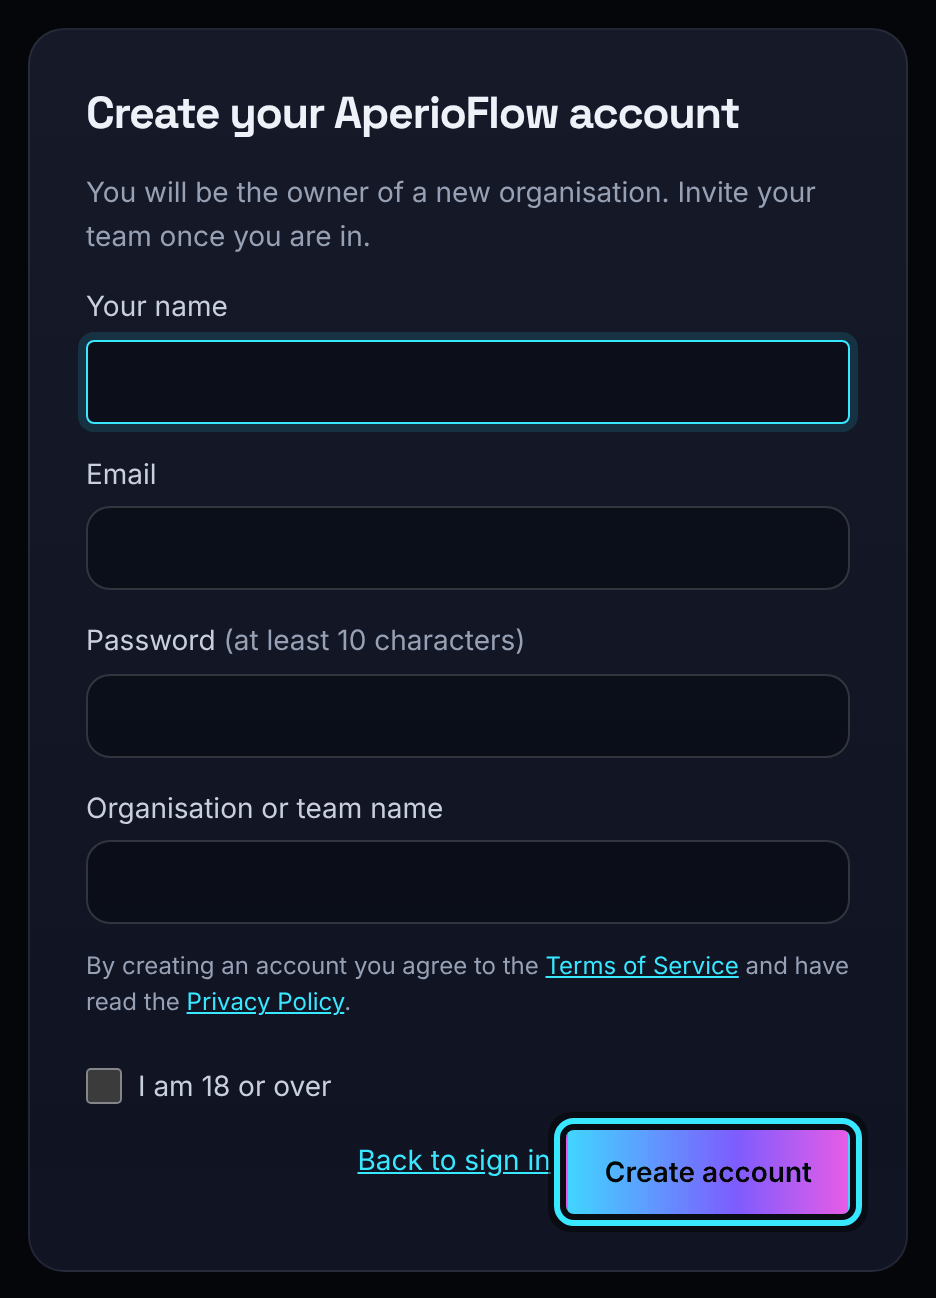
- Go to aperioflow.co.uk and choose Start free, or open the app and choose Create an account in the sign in window.
- Fill in Your name, Email, a Password of at least 10 characters and the Organisation or team name. You become the owner of a new organisation.
- Tick I am 18 or over. By creating an account you agree to the Terms of Service and confirm you have read the Privacy Policy.
- Choose Create account. We email you a link to confirm your address. Open it, then sign in.
If Google, Microsoft, Apple, GitHub or Slack sign in is offered, you can use Sign up with Google (or one of the others) instead of a password. The provider confirms your email address, and you still name yourself and your organisation before anything is created.
Every new organisation starts on the Free plan. See Plans and billing for what each plan includes.
Make a project
Sign in and choose New project. A project holds phases (the stages of the work), each phase holds tasks, and a task can hold subtasks. You can add them one at a time with the quick-add box at the bottom of each list, or send a whole plan at once through the API.
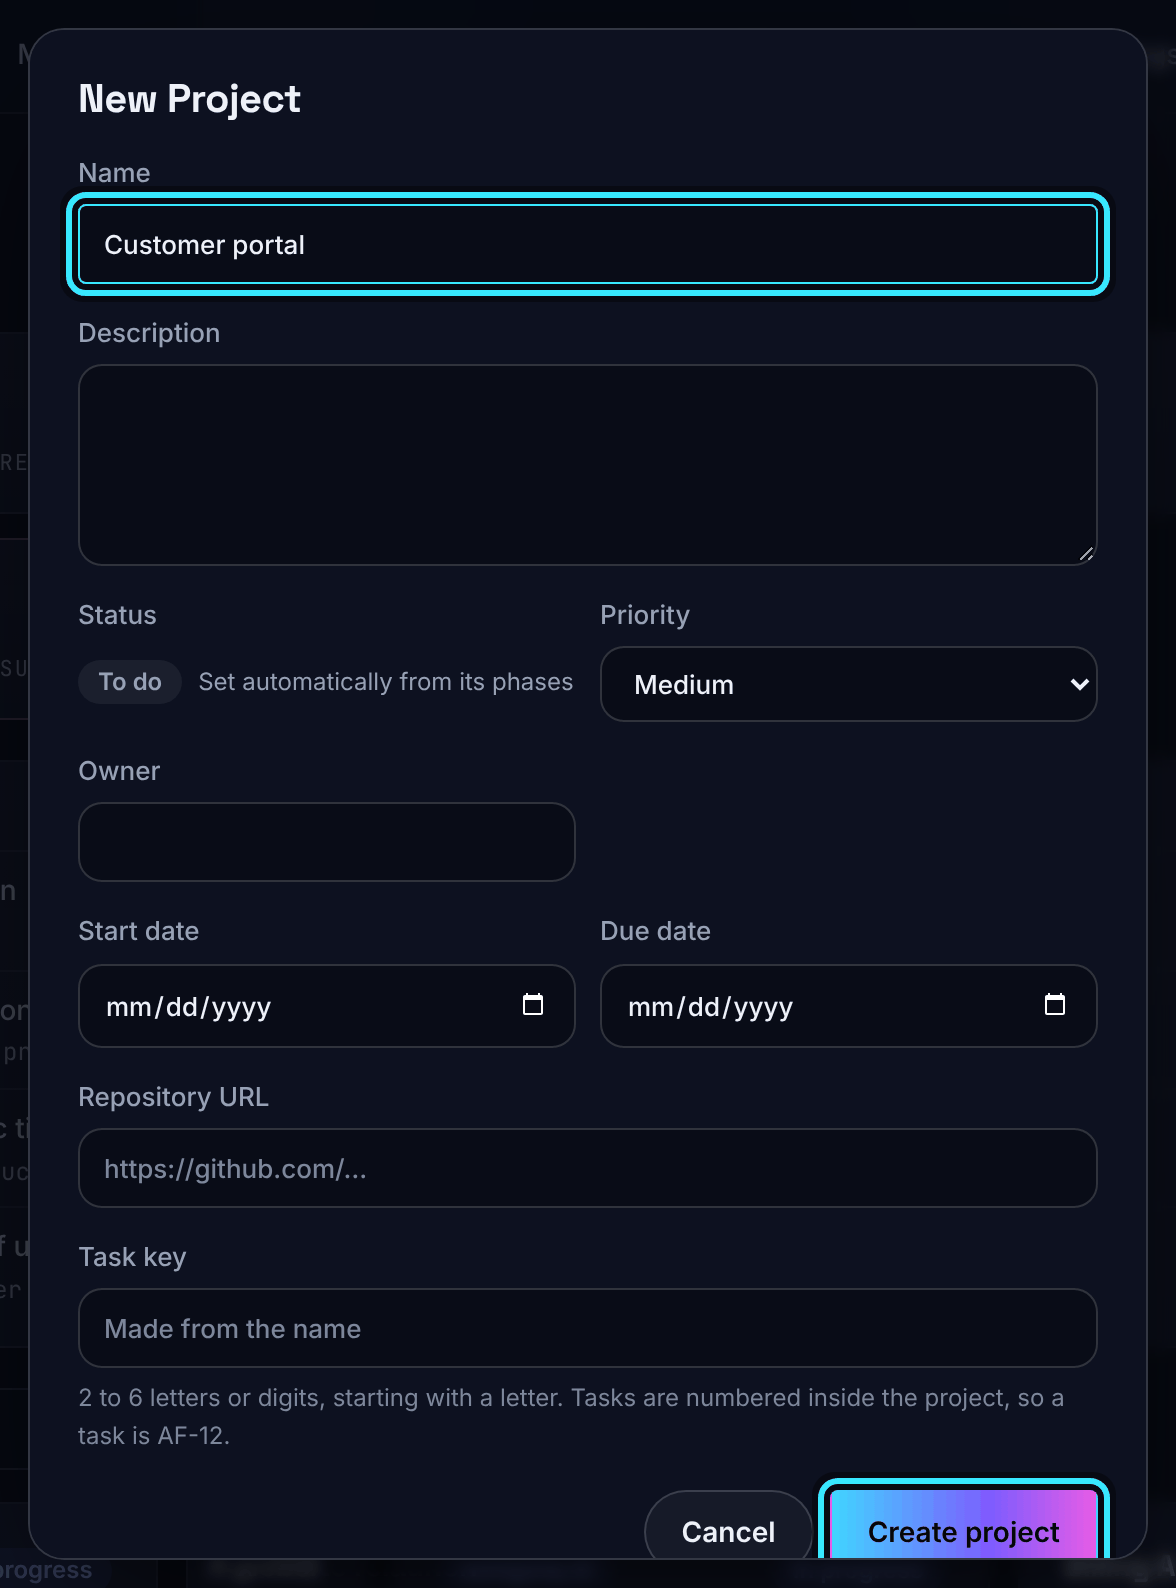
- On Projects, choose New project.
- Type a Name. Everything else (description, priority, owner, dates, repository link and task key) is optional and can be added later.
- Choose Create project. AperioFlow opens the new project.
- Choose Phase to add the first phase, for example "Design".
- Type a task into Add a task... at the bottom of the phase and press Enter. The box stays ready for the next one.
Work through it
Every task and subtask has a status: To do, In progress, Blocked, Done or Cancelled, and a priority from Low to Critical. Set the status from the menu on its row. You do not set a status on a phase or a project: it is worked out from what is inside, and so is the progress bar (done counts as 100%, and cancelled work is left out).
Give a task an owner and a due date from its Edit box. Typing the name of someone in your organisation links the task to them; any other text stays as plain text. A linked task appears on that person's My work page.
Waiting and regular work
Some work does not belong in the build phases. Every project can have three standing sections, made the first time you move a task into one:
- Awaiting owner: blocked until the owner does something.
- Awaiting response: waiting on someone outside, such as a supplier or an authority.
- Regular tasks: recurring work that never finishes.
Use a task's Move button. These tasks are left out of the project's progress, so a phase can still finish while something waits. Return to puts a task back where it came from. The Waiting page in the main menu lists them across every project. Phases, tasks and subtasks has the details.
Bring in your team
Open Members to invite people by email. Each person has one role:
- Viewer: can read everything. Free on every plan, for clients and stakeholders.
- Member: can plan and change the work.
- Admin: can also invite and remove people and change their roles.
- Owner: everything, including making or removing owners.
The invitation link works once and for seven days. See Members and roles.
Connect your tools
Under Your account you can make an API key, and the API guide shows how to use it and how to connect an AI assistant. To catch errors from your own app, see Error reporting. To watch a site or a scheduled job, see Monitors and heartbeats.
What to read next
- Finding your way around: the menu, search, keyboard shortcuts and organisations.
- Phases, tasks and subtasks: everything about planning the work.
- Project views: list, board, table, calendar and timeline.
- Error reporting and Working with issues.